
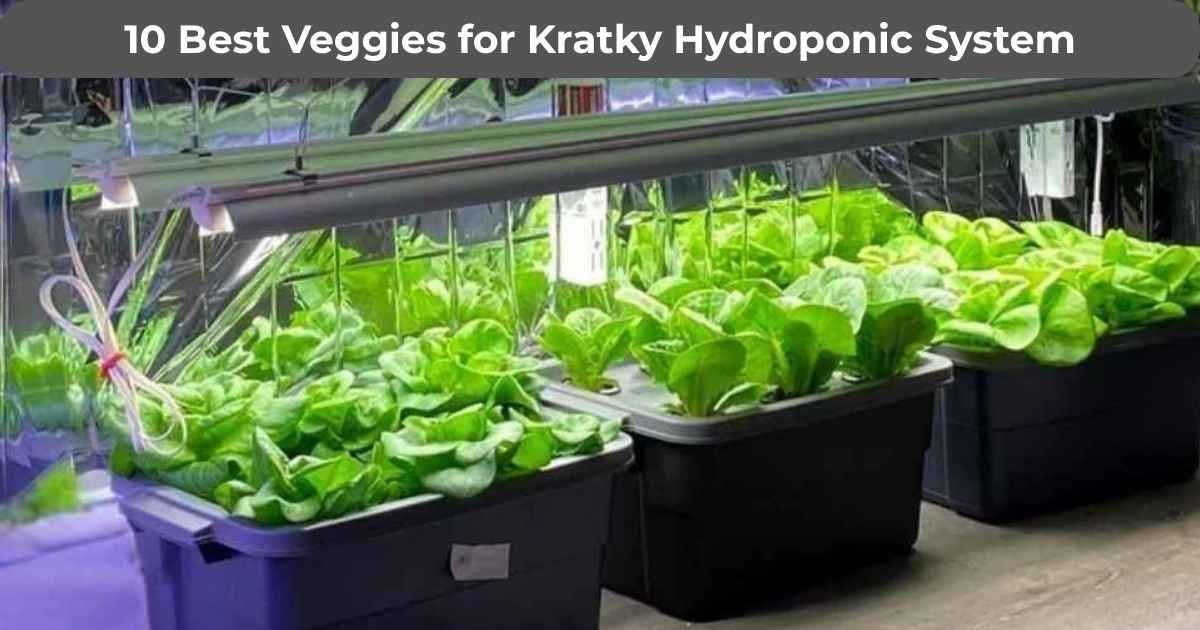
If you’re new to hydro growing, one of the first questions you’ll probably ask is: what are the best Kratky vegetables. Or what veggies grow well with the Kratky method? Unfortunately, most posts I’ve seen online are either unhelpful or straight up misleading.
Not every vegetable does well with Kratky, but a handful of them thrive, and that’s where you want to start.
In this post, I’ll share the best vegetables I’ve seen thrive in real Kratky setups. This list will help you skip the guesswork and start growing with confidence. And if you’re still deciding between soilless and in-soil growing, this post will help you weigh your options.
What Are the Best Vegetables to Grow With the Kratky Method?
The best vegetables for the Kratky hydroponic method are fast-growing, compact, and low-maintenance plants that thrive without pumps or air stones. Here are top picks for beginners and experienced growers alike:
- Lettuce-Romaine, butterhead, and loose-leaf types grow quickly and reliably in Kratky setups.
- Arugula-A cool-weather green that’s fast-growing and perfect for cut-and-come-again harvests.
- Basil-Thrives in warm weather and regrows fast after trimming.
- French tarragon-Grows well from cuttings in 5-gallon buckets and offers great flavor for cooking.
- Cherry tomatoes-Compact, productive plants that work well in larger containers like 27-gallon totes.
- Bell peppers-Slow, steady growers that fruit without guzzling nutrients.
These vegetables are perfect for Kratky because they stay manageable, don’t need pumps or circulation, and give solid yields with minimal effort. I’ll walk you through six top picks, plus a few others (4) that work well but aren’t quite as easy or productive.
6 Best Veggies to Grow in Kratky
If you’re serious about growing with Kratky, start with these so you can stop buying lettuce at the store and grow your own instead.
1. Lettuce
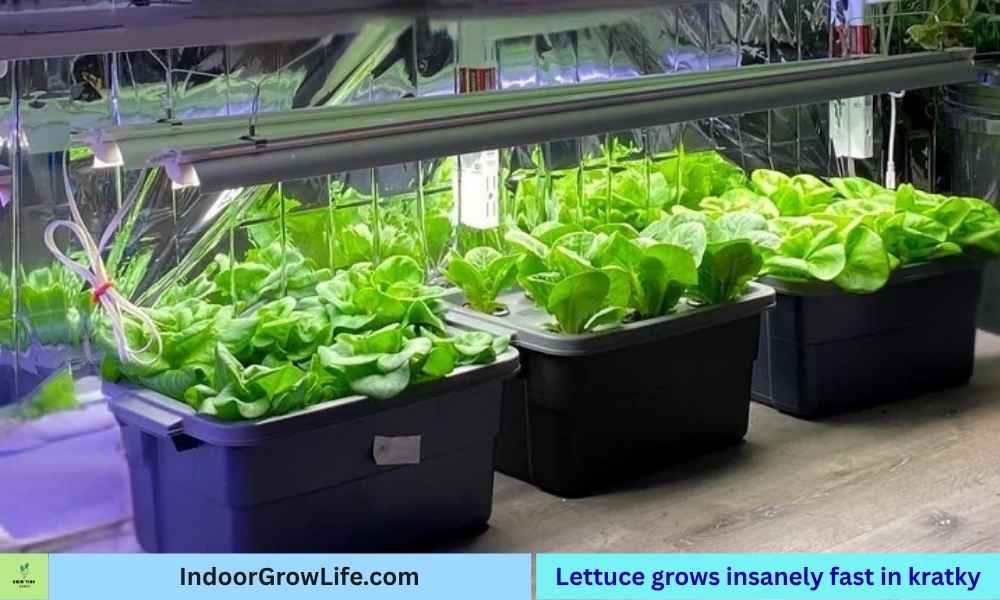
It’s no secret. Leafy greens do really well in the Kratky system, and lettuce is in my opinion the best performer.
Lettuce is probably the best all-around vegetable to grow using the Kratky method. It’s easy to start, grows quickly, and once it gets going it doesn’t need you to watch the clock the whole time.
I’ve had success using 3.5- to 5-gallon buckets. You don’t need anything larger because lettuce has a short life cycle and won’t stick around long enough to fill a bigger container.
Butterhead and romaine are two of the most popular choices for hydro growers, and both do really well in Kratky. Butterhead usually gives you three to four weeks of steady leafy growth, and romaine tends to go a bit longer before it runs its course. Even if you harvest the outer leaves strategically, romaine eventually turns into a tall, healthy-looking stalk that ends up in the bin. When it gets to that point, I just pull it and start over.
What I like most is how fast I can start harvesting baby leaves. By the third week, I’m already picking tender greens for salads and sandwiches, and the plants keep producing for a little while after that.
One thing I had to learn was not to plant too many at the same time. If everything matures together, you’ll end up with more lettuce than you can eat. Now I stagger my planting every week or two so I always have fresh heads coming in without the waste.
Lettuce might not last forever, but it grows fast, doesn’t ask for much, and is a solid pick for anyone just getting started with Kratky or hydroponics in general.
2.Arugula
This one is quick, spicy, and a little Wild. Arugula does really well in Kratky, especially in cooler weather. It grows fast and doesn’t need much space. I’ve grown several plants in a single 5-gallon bucket without problems. I can start picking baby leaves within a couple of weeks, and it keeps producing if you cut it back lightly.
The one downside is how fast arugula bolts. It’s quick to flower when the temps rise or if it doesn’t get harvested regularly. When it bolts, the leaves turn spicy, like really spicy.
Some folks love that sharp kick, others not so much. Personally, I don’t. I’ve found that frequent picking helps delay bolting and keeps the flavor right where I and my family like it.
Arugula works well as a cut-and-come-again crop, but it’s best to plant it in small batches and keep new ones going every couple of weeks if you want a steady supply.
3. Bell Peppers
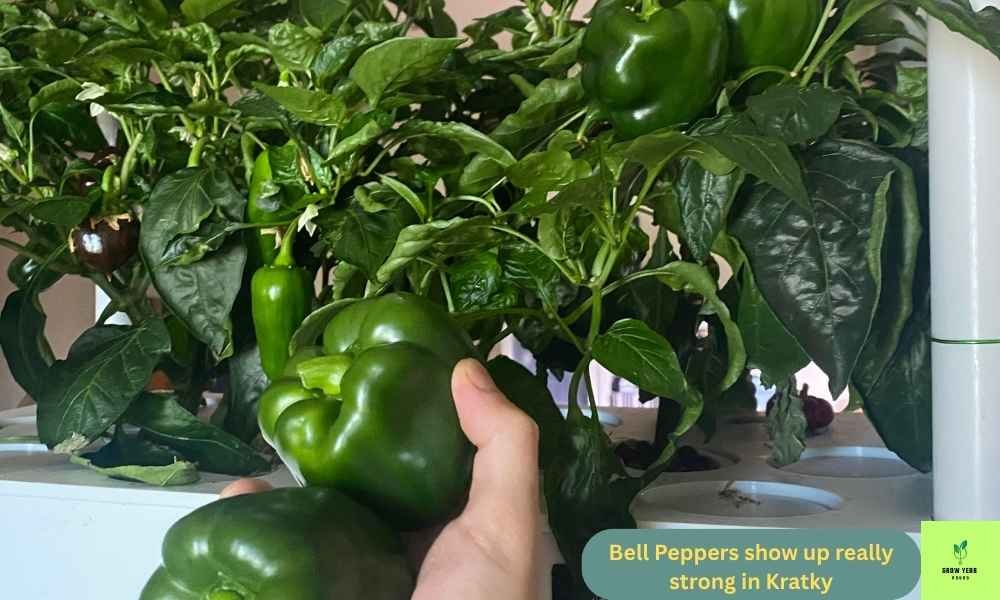
Out of everything I’ve grown, bell peppers are the ones that have surprised me in all the best ways. They don’t guzzle nutrients like some other plants. And they seem perfectly happy soaking up the summer sun without so much as a wilt.
I’ve had one bell pepper plant growing in a 32-gallon trash bin for a couple of months now (6-ish). The plant stands only about 22 inches tall, but it’s loaded with more peppers than I expected from such a compact plant.
It’s wild that it’s barely sipped through 9 gallons of nutrients in all that time. The beautiful thing just grows slow and steady, putting all its energy into fruit instead of size.
Some vegetables just take to the Kratky method like they were made for it. They grow fast, don’t ask for much, and give you steady results with very little fuss. If you’re starting out, this is where I’d put my time and effort.
4. Basil: The comeback king
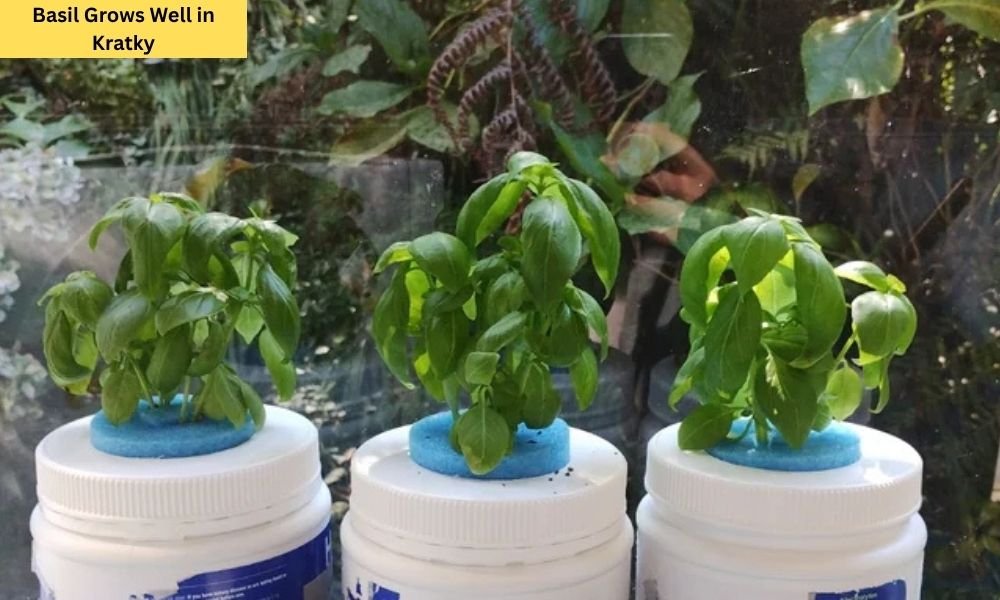
Basil grows like crazy in the Kratky system. Once it gets going, it feels like it never stops. I’ve chopped mine down to just a few inches tall, and it still came roaring back within a couple of weeks. It does best in warm weather and full sun, and it’ll fill out fast if you harvest regularly.
It’s easy to forget about basil when it’s thriving, but it still needs attention. You’ll want to keep an eye on water levels and make sure the nutrients don’t get too diluted over time. And if the leaves start looking pale or lose their strong scent, that’s usually a sign of nutrient deficiency.
Another thing to watch for is bolting. Basil will eventually try to flower, especially in hot weather or if you leave it untouched too long. The flavor changes and the leaves get tougher.
Tip: Trimming it often keeps it productive and helps delay flowering. A single basil plant in a 5-gallon bucket can supply more than enough.
5. French Tarragon
Tarragon has been one of the easiest herbs I’ve grown in a Kratky bucket, but not because it’s a fast grower. It’s not the fastest grower (2 to 3 months), but once established, it grows steadily without needing tons of attention.
I grow mine in a 5-gallon container, and it does really well. It only needs fresh water now and then and a trim when it starts to fill out.
French tarragon, or the chef’s herb if you like, gives you the best flavor. It has this sweet, slightly licorice-like taste that’s great in cooking.
But French tarragon doesn’t grow from seed, so you’ll have to rely on propagation, which growers do through root divisions or stem cuttings. Most garden centers have it in spring so don’t worry. This one usually takes off without any trouble after planting.
What if you want to grow from seed? Go for Mexican tarragon. Sure, it isn’t a true tarragon, but the flavor is similar, and it grows well in warm weather. It also handles heat better than French tarragon and performs as well in a Kratky setup.
One healthy plant, whether French or Mexican, gives you more than enough for regular cooking. You can snip fresh sprigs as needed and still have plenty left to dry or freeze for later. Mexican tarragon dries well and keeps its flavor.
French tarragon doesn’t keep its flavor when dried, so freezing works better. Chop the leaves and freeze them in a small container or an ice cube tray with a little water or olive oil to preserve the flavor.
6.Cherry tomatoes
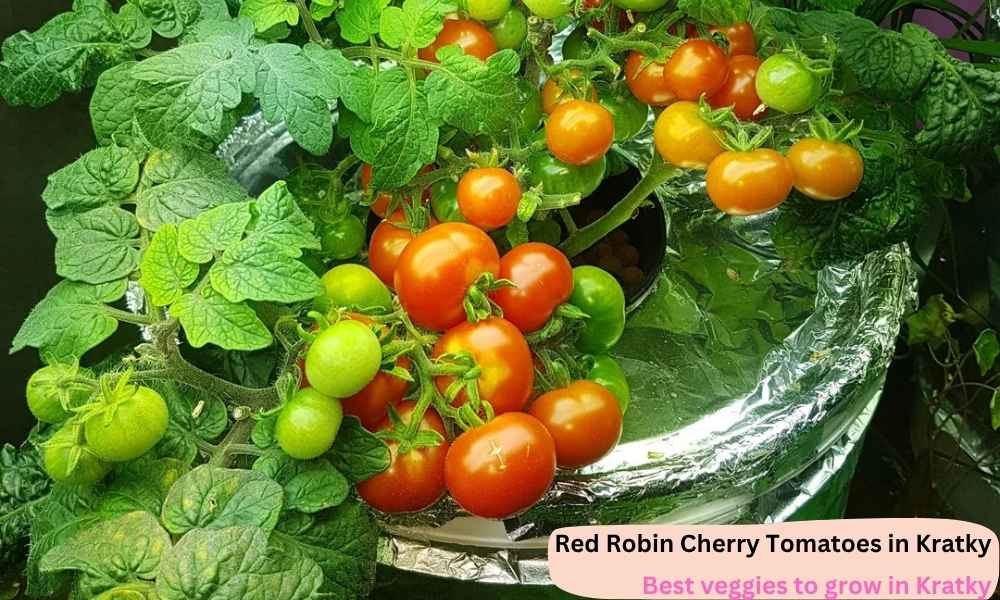
Cherry tomatoes have been one of the easiest and most reliable things I’ve grown in my Kratky setup. If you’re growing this plant hydroponically, get ready for fast, dense growth. It stays under two feet tall but gets so compact that the leaves and branches start curling into each other, trapping moisture in the middle.
The fruit’s super mild and sweet with barely any acidity, and the clusters grow so tight they practically squish together. I grew mine using natural light, but you can also grow it under artificial light. But I also threw an air stone in the bucket. I probably didn’t need it, but I like succeeding, so I didn’t take chances.
The ones I’ve got growing now started in my Aerogarden and were moved outside about six and a half months ago. I have two plants in each 27-gallon Rubbermaid tote, and they’re still going strong. They’ve been producing steady harvests, and I’ve only had to refill the water three times, using just under 30 gallons of nutrient solution.
I’ve had good results with the bigger tomato types too, but they take a lot more work. You have to stay on top of pruning, use tomato cages for support, and refill water more often. I’ll get into those below.
These Veggies Work, But Not So Well
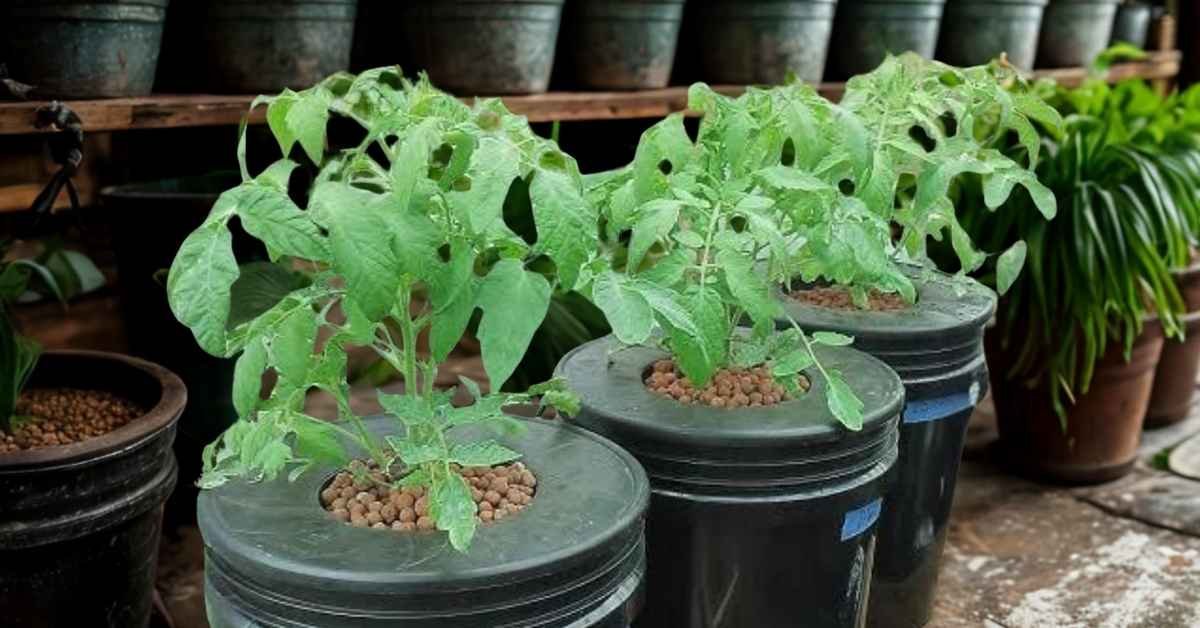
1.Full-Size Tomatoes: High Reward, High Maintenance
Full-size tomatoes grow fast in Kratky and look promising early on. They flower quickly and start setting fruit, but once that happens, they become demanding. They go through water and nutrients at a rapid pace, and even large containers need frequent refilling.
The plants get heavy and sprawling. I used standard tomato cages stuck through the lids of my containers, and that worked for a while. But once the fruit filled in, the cages couldn’t support the weight. The plants leaned, tipped, and the setup started to fall apart.
I once grew five large plants at the same time. It started off strong, but by the end, I was just trying to keep things from collapsing. We still harvested, but not as much as we should have.
I’ve read that growing just one plant, building a sturdier PVC frame, and adding a float valve to help with refills helps. But this isn’t something I’ve tried myself. So, tomatoes work in Kratky, but they’re far from easy.
2. Broccoli in Kratky: Big Plant, Small Payoff
I’ve grown broccoli in Kratky, and it does work. If you start with a strong seedling, give it a large container, at least 10 gallons, and spray for bugs every so often, you’ll get a head of broccoli.
But here’s what surprised me. The plant gets massive. The leaves spread out wide and take up a ton of space. It’s not tidy, and once it starts maturing, it goes through water fast. Toward the end, I was topping off constantly.
You’ll get one big central head, maybe a few smaller side shoots, and that’s it. After that, the plant is done. Compared to something like lettuce or basil, it’s not much return for all the space, nutrients, and time it needs.
Pests can also be a problem. Cabbage worms and aphids love broccoli. I used neem oil to keep them off, but you have to stay on top of it, especially under the big leaves.
So if you’ve got plenty of room and want to try it, do it. But if you have space constraints, I’d use that container for something more productive. Broccoli is one of those crops that looks impressive but doesn’t really pay off in a small-scale Kratky setup.
3. Zucchini in Kratky: Grows Fast but Needs Care
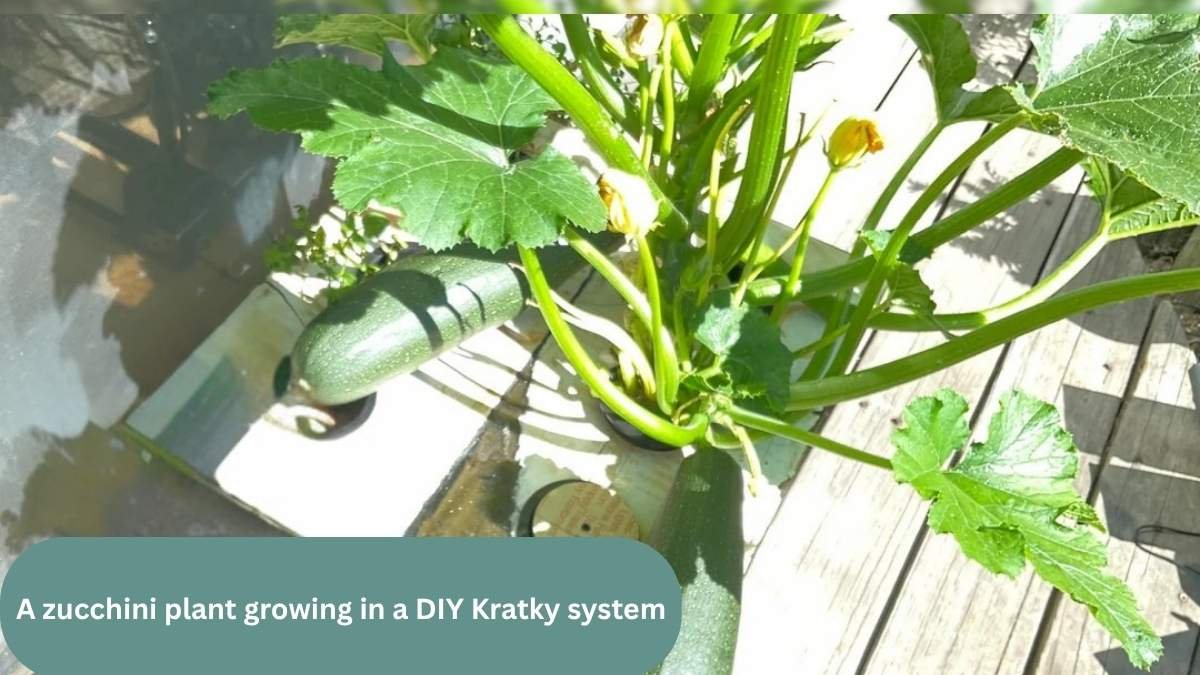
Zucchini grows fast in Kratky and starts off strong, even in a 5-gallon bucket. You’ll see big leaves, flowers, and small fruits in no time. The trouble is, pollination can be hard indoors. Without bees, the baby zucchinis often shrivel unless you hand-pollinate.
The plant also drinks a lot once it starts fruiting, so small containers dry out quickly. Zucchini spreads wide and needs plenty of space and support. If you want to try it, use a large container and be ready to help it along. For easier results, it might be better grown in soil.
4. Pea Shoots: Low-Effort, Tasty, and Look Good Anywhere
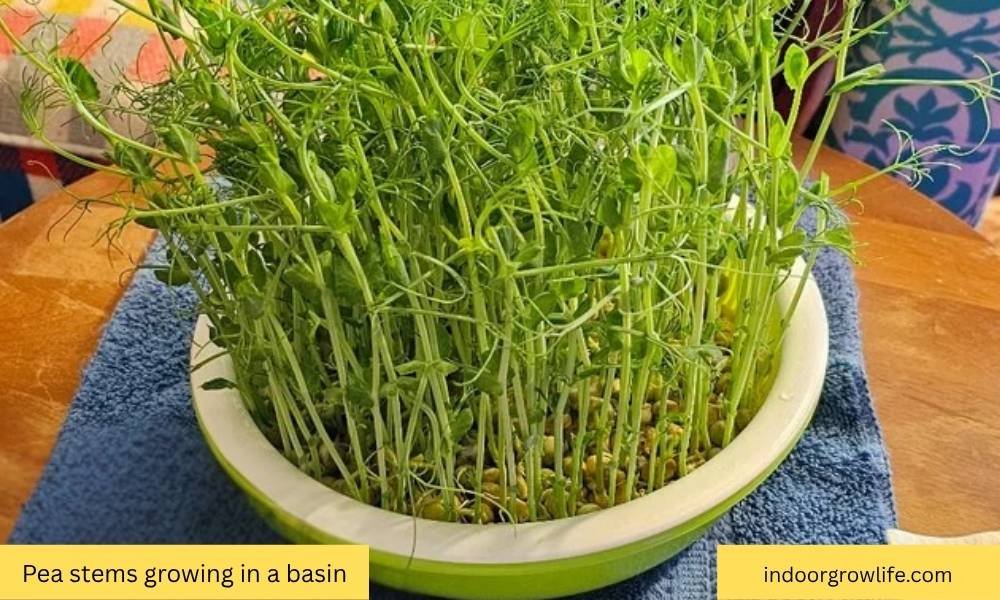
To be clear, I’m talking about growing pea shoots for their tender greens, not for the pods. I haven’t tried growing them myself yet, but a good friend of mine has them going year-round. They treat the trays almost like houseplants.
The trays sit on windowsills, end tables, or any flat surface that gets a little natural light. They don’t use grow lights at all. In fact, they actually like their shoots a little tall and leggy. When the plants start leaning toward the light, they just turn the tray. That’s about all the care they give them.
Pea shoots grow fast and are super easy to harvest. Just snip what you need for a salad, sandwich, or stir-fry, and start a new tray when they’re spent. It’s a low-effort crop that doesn’t take up much space, but it keeps fresh greens in the kitchen all year long.
What Makes a Vegetable Kratky-Friendly?
The Kratky method is about keeping things simple. You’re not running pumps, timers, or fancy equipment. Just a container, a nutrient solution, and a plant that knows how to grow. But here’s the thing: not all vegetables are built for it.
The best Kratky vegetables have a few things in common:
- They grow fast: Whether you’re starting from seed or transplanting a young plant, you want something that reaches harvest fast, ideally within four to six weeks. The quicker it grows, the less likely you’ll run into problems with low water or depleted nutrients.
- They don’t need constant refills: Big, thirsty plants will drain your reservoir too fast, and refilling constantly defeats the point of “low-maintenance.” Smaller or moderate drinkers are a better fit.
- Their roots stay manageable: Some vegetables send out massive, tangled root systems that outgrow the container and make a mess. Look for plants that keep it more manageable.
If a vegetable checks those boxes, it’s probably a good match for Kratky. And once you’ve grown one or two successfully, you’ll get a feel for how forgiving (or not) this method can be.
A Few Tricks That Make Growing Veggies in Kratky Easier
Even the easiest vegetables can give you trouble if you skip a few basics. These are the things I’ve learned over the years that can save you time, stress, and wasted seedlings.
Stagger your planting dates: If you plant everything at once, you’ll be swimming in lettuce or basil for a week or two, then nothing. Start a few seeds every week instead of all at once. That way, you’ve always got something coming up, and nothing goes to waste.
Use 5-gallon buckets whenever you can: Some greens will grow in a 3.5-gallon container. But I always recommend using 5-gallon buckets if you have the space. They give you more wiggle room on water levels and root growth, and you won’t be stuck topping off the solution as often.
Don’t skip on pruning: It’s easy to forget about basil or arugula once they’re growing well. But letting them go wild leads to bolting, and bolted plants don’t taste great. A quick snip every week or so keeps them bushy and productive.
Watch your plants’ nutrients: You don’t need to hover, but you don’t want to ignore this either. Basil, tomatoes, and cucumbers will suffer if nutrients get too low. A simple EC or TDS meter can help you keep things in check, but even keeping an eye on the color of the leaves can tell you a lot.
Give your plants some airflow: Fruiting plants like cherry tomatoes and zucchini do better when they’re not sitting in stale air. A small fan near your setup goes a long way in keeping mildew and mold off the leaves.
Wrapping It All Up
If you’re just getting started with Kratky, stick with vegetables that grow fast, stay compact, and don’t guzzle water. Leafy greens like lettuce and arugula are a great starting point, and herbs like basil and tarragon just keep going with minimal effort.
Once you’ve got a few wins under your belt, you can try more demanding plants like cherry tomatoes or bell peppers. The key is learning what each crop needs, and growing what fits your setup, space, and time. Start simple, stay curious, and tweak as you go. That’s how Kratky really starts to pay off.

Patrick M. holds a degree in horticulture and has over 10 years of experience as a senior production manager at Syngenta. He also completed advanced training in plant breeding at Texas A\&M. His work in Kenya, Norway, Sweden, and Denmark brings a wealth of practical insight to his writing on IndoorGrowLife.com. Patrick is passionate about helping people grow fresh food indoors using hydroponic systems.